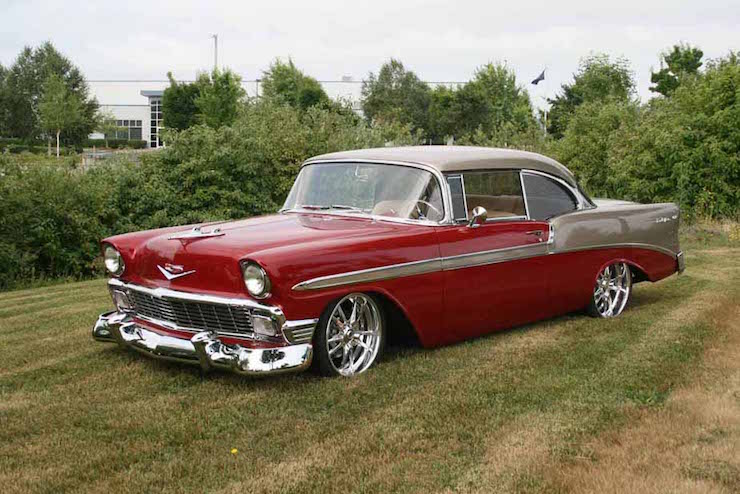
1957 Chevy Car Fender Replacement
The fenders on your Tri-Five may be in need of some work, or maybe a total replacement. Whether you're taking them off to do some body work or removing them to toss in the scrap pile, here are some tips and tricks for making replacement easier.

First, how to remove a 57' Chevy bumper:
- There are 3 bolts which go into the frame on each side, for a total of 6 that need to be removed. Remove these.
- You will then encounter one bolt on each side, two total, that need to be removed which hold the outside bracket in place. Also remove these.
Next, how to remove the 57' Chevy fender:
- Remove the chrome headlight trim by taking out the four Phillips head screws. You may also need to remove the chrome on the front of the fender after the fender has been removed from the car.
- Remove the headlight bucket and take the headlight out. You may need the flathead screwdriver for this.
- Disconnect the wires located in the inner fender and push the rubber grommet that holds the wires in the direction of the front tire.
- Remove the rubber tube that connects the two pieces of the fresh air vent tube from the fender. You will also need to remove the connection hose that connects the blower motor to the right hand tube.
- Unbolt the bolts holding the top of the fender to the inner fender.
- Unbolt the hood hinge bolt that holds it to the top of the fender.
- Unbolt the bolt that holds the fender to the firewall. Be careful to keep the shims because you will need these to adjust the alignment for the fender, hood or door.
- Unbolt the one bolt on the bottom of the fender located at the connection point between the fender and the door. This bolt faces the frame.
- Unbolt the bolt that is located at the midway point underneath the fender. It faces the rear of the vehicle and holds the inner structure to the inner fender and is above the tire.
- Unbolt the two bolts that hold the radiator support to the fender.
- Unbolt the two bolts that connect the grille to the fender.
- Unbolt the front fender at the curve of the bumper.
- Remove the two bolts on the outside rim of the fender that hold it to the brace.
- Unbolt the one bolt on the lower rear portion of the inner fender that holds it to the brace. The bolt head faces the front of the vehicle and you may need to use a swivel head to get to it. Since it is exposed to tire debris, it may be dirty, so you may have to work at it to get it loose.
- You may need to unbolt the splash pan for the air vent drain.
Replace your fender by working the steps backwards. Of course, if you find you need parts along the way, check out our Tri-Five parts selection here.