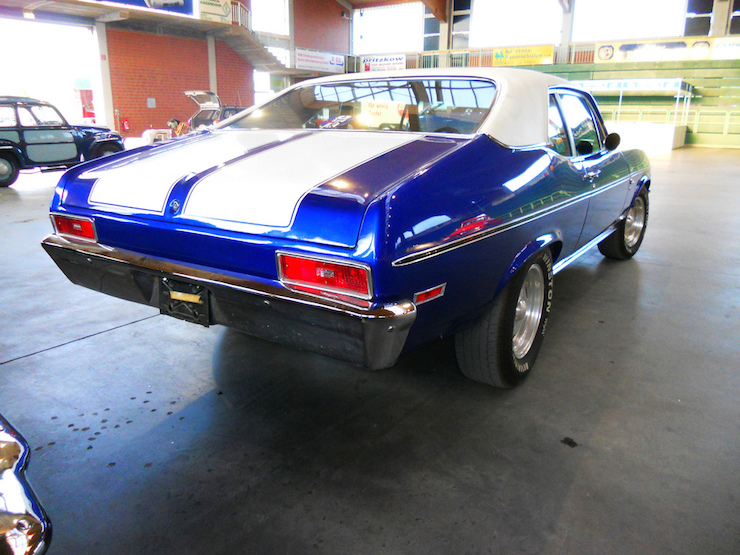
Vinyl Decal Application and Removal Tips
Applying and removing decals and stripes can be a stressful process when it comes to your classic Chevy. You don’t want to do it wrong and ruin the vinyl and flush your money down the drain, but you also don’t want to apply it wrong and make your car look odd. Or maybe you’re tired of the look and want to take the decal or stripes off.
Here’s how to install and remove decals and stripes for the best chance of getting it right the first time.
Application
So you have your decal or stripe in hand, but what will it take to get it on you car?
Step 1: Thoroughly Clean the Area
People make a huge mistake in not cleaning the area well enough at first and later discover the vinyl won’t stick or debris is caught underneath (which just looks terrible!). This is the most important step for application. If you put a decal on a dirty surface, it will pick up dirt like a lint roller and lose its stick or trap all of that junk underneath.
So be sure to get the area as clean as possible first. Park your car in a dry place free of wind, bugs, etc. Your closed garage is probably your best bet. You can choose to use soap and water, rubbing alcohol, or any other fast drying, paint safe cleaner. Rubbing alcohol is preferred because it dries in seconds with no residue left behind. One thing to avoid is anything like glass cleaner or other household spray — these leave residue behind and your decal will not adhere correctly.
Step 2: Decide the Spot then Peel
Once you’ve cleaned the area of the car, you need to find where the center will be to make sure it’s straight — this is super important with stripes since they typically cover a much bigger area. Use a measuring tape to measure from different points so you can make absolutely certain that it won’t go on crooked. Use a piece of masking tape to mark the measurements — from top/bottom/left/right. You should have a boxed area to place your decal or stripe now.
Keep in mind that after you stick it, you’re not going to be able to pull it off and re-place it until you get it right. Once you decide where you want it, peel the backing from the decal or stripe.
Step 3: Placing the Decal
Now that you’ve cleaned the area and measured it out, place the decal and rub all of the air bubbles out with a credit card and apply a soapy water mixture to the surface so you don’t scratch it. Once this is done, it will need time to dry; this could take a while, especially for larger decals and stripes. Once it is fully dry, you can remove the transfer tape — do not rush this!
Decal and Stripe Removal
Removal is the easy part, but you need to keep your patience in check. Sometimes, you can just catch an edge and peel the rest up. If the applied decal or stripe doesn’t come up so easily, try using a hair dryer to heat it up and slowly peel it up by the edges. Keep the heat on it and peel the rest off. The slower you go, the fewer pieces will break away and the less residue you’ll have to deal with. Whatever is left over can be taken off with an automotive adhesive remover.
Don’t be afraid to tackle application and removal of decals and stripes on your own! The key is taking your time. Follow these tips, don’t rush it, and you’ll be just fine.