How to Install a Disc Brake Conversion Kit
Even though drum brakes work okay, disc brakes are still a huge upgrade. Compared to drum brakes, disc brakes look better, provide more stopping performance, and are easier to maintain. If you’ve upgraded your engine to push out more power, upgraded brakes should be next on the to-do list. (To read more about this, check out 5 Great Benefits That Make a Disc Brake Conversion Worth it).
The Importance of Using a Quality Disc Brake Conversion Kit
If you install a generic set of disc brakes, you’re going to run into several problems. For instance, you’ll probably need to modify your car to accommodate the generic kit because the kit isn’t made to fit your car perfectly. If you use a kit specifically designed for your exact vehicle, you’ll get all the hardware engineered to fit your car for optimal braking performance.
Now, not all car-specific disc brake conversion kits are the same. Many cheap kits contain low quality parts that will eventually cause a whole lot of problems on the road. For example, the brakes might fade faster, the rotors may warp, stopping power could be drastically reduced, or your brakes may completely fail.
You want parts that provide exact fitment, are made of high-quality materials, and will fit your car perfectly. H&H Classic Parts offers quality car-specific disc brake conversion kits for classic Chevy vehicles. Check them out here.
The Replacement Process in 7 Steps
This is a basic overview of how to upgrade to disc brakes in the safest, most efficient way possible. Keep in mind that the process may vary slightly between models.
1. Lift Your Chevy
You can use a home lift or jack stands for this job. A commercial lift that you can rent hourly is also a nice option.
2. Remove the Master Cylinder and the Brake Fluid
Many disc brake kits will provide a brand new master cylinder, so you will need to remove the old one. Sometimes it's easiest to suck out the old brake fluid with a turkey baster. Be sure to dispose the old brake fluid properly. Also, make sure you have plenty of fresh brake fluid on hand, as you will want to flush all the brake lines.
3. Remove the Wheels and Drums
Wear a dust mask while removing the drums. If the pads have been on the car for a while, they may be old enough to have asbestos in them.
Also, keep in mind that the drums may be rusted on due to your car’s age, so they might be difficult to remove. Penetrating lubricant can very helpful with this step.
4. Uninstall the Rest of the System
Depending on the setup, you will probably need to:
- Disconnect the brake lines.
- For the front end, remove the drum backing plate from the hub/spindle. You may need to remove the springs, shoes, etc. to do this.
- If you are replacing the rear brakes, you will probably have to remove the rear axle shafts in order to remove the drum brake backing plate. Also, you will need to disconnect the parking brake cable.
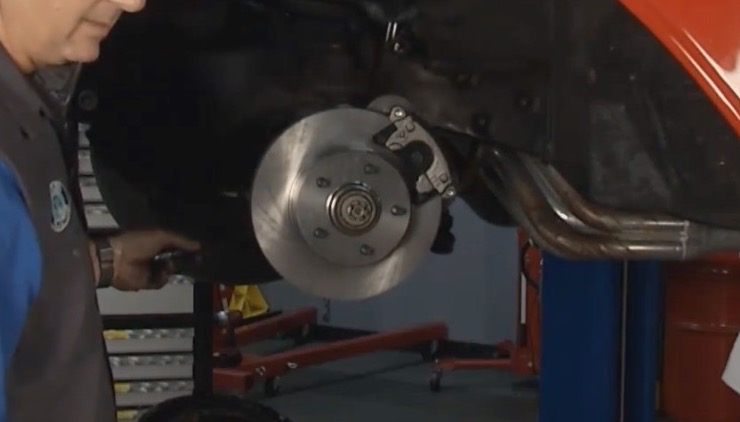
5. Install the Disc Brakes
The process varies between kits. Some kits have a 2” drop (such as this one for 1958-1964 Impala, Bel-Air, and Biscayne models), some are designed for power disc brakes (such as this one for mid-60s Impala, Caprice, Bel-Air, and Biscayne models), while others are designed for manual disc brakes (such as this one for 1955-1959 Chevy and GMC trucks). A good disc brake conversion kit has all the instructions you need to perform the task in the safest, most efficient way possible. Here’s a basic overview of the process:
- Bolt on the new caliper mounting brackets.
- Attach the rotor to the spindle/hub.
- Insert the brake pads into the caliper and position the caliper assembly over the rotor.
- Bolt the caliper to the mounting bracket.
- Make sure to correctly torque all the mounting bolts.
6. Add Fresh Brake Fluid
- Fill the master cylinder with fresh brake fluid.
- Flush the old fluid out of the brake lines.
- Connect the brake lines to the new calipers.
- Bleed the brake system. There will be a lot of air in the system, so buy or borrow a power bleeder for this job.
7. Double Check Everything and Test the New Brakes
- If your new brakes feel spongy or unresponsive, bleed the brakes again.
Video Tutorial
If you’re more of a visual learner, check out this fun and informative video tutorial by Motorhead Garage and H&H Classic Parts on how to install a disc brake conversion kit.