What are Bel Air Patch Panels All About?
A key part of any restoration job is preparing the metal body panels. Older cars are often dented, rusted, or simply have holes in the body. While some may just slap some Bondo on it, there is a better way - patch panels.
Patch panels are pieces of metal which are used to replace part of the car's body. These panels are welded on and lightly covered with Bondo to create a smooth surface to paint. Plus, patch panels can cover up and remove serious car problems like rust.
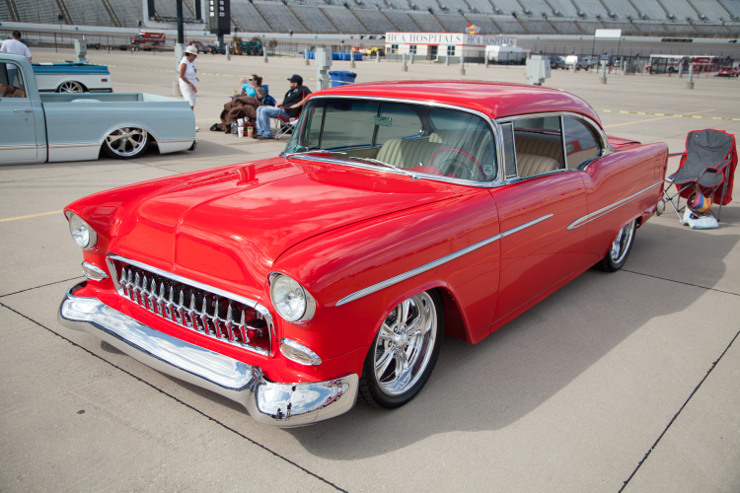
NOTE: We're showing this picture because it's an awesome classic, not because it has rust repairs. We don't know if this car had any sort of repair or not - same goes for the other photos here. Just think of them as inspiration. (Also, all of the photos were taken at either the Pleasanton or Texas GoodGuys shows - you can see more images here and here.)
Proper Rust Removal
When it comes to cars, rust is like a nasty infection that just won't go away. The only way to truly get rid of it is to either a) buy a new body panel or b) cut out the rust and replace the sheet metal. This easy way to do this is with patch panels, and it's their key benefit - they make it possible to eliminate rust.
With a patch panel, you would cut out a slightly larger section of the sheet metal and then simply patch it. Not only is this fast and better than say using Bondo, it is also cheaper than replacing the entire body part.
Bondo Limitations
You may be thinking, "I can do the same thing with Bondo -- why do I need a patch panel?" Simple: a patch panel creates a better finish and doesn't pit.
The problems with Bondo are many. For one, it is hard to use on a large surface. Why? The preferred method of using a piece of mesh and putty seems simple, but it is not. Getting the smooth surface the first time is nearly impossible and you will likely have to chisel and reapply.
Another problem is pitting and chunking. Over time, the putty will not hold up and will either pit or pieces will fall off. It is much better to use patch panels.
Patch Panel Installation Simplified
One of the daunting aspects of using a patch panel is the installation - here's a short overview of the installing process:
Step 1: Using a marker, draw out the section you want to replace. If you have a pre-formed panel, lay the panel down and draw an outline.
With the outline, create a template out of something sturdy like cardboard.
Using an angle grinder, carefully cut out the template. Avoid over cutting the area since it will be harder to fit the panel. Ideally, you want the panel to line up perfectly.
NOTE: For pre-formed panel installation skip to step 3.
Step 2: If you are using sheet metal for straight or flat areas, you will want to find a similar gauge metal to create the template. Hand shape the metal to fit the hole (buy pre-formed if you can't hand shape it).
Step 3: Use acetone or a media blaster to get the sheet metal as clean as you can. This is vitally important to the long-term success of using the patch panel.
Step 4: Now comes the fun part - time to weld it. Lay the metal in place and spot weld it.
When using a MIG welder, use 75% argon/25% Co2 mixture.
Remember to lay a long bead of weld instead of small dots due to the thinness of the metal. You will want to make ¼" weld spots and grind the welds down with an angle grinder.
Step 5: Finishing up, you will want to use a very thin layer of Bondo putty to cover the seams. Don't overdo it, you are simply trying to smooth and fill the seam. Sand the area by hand.
Whether you are doing the restoration or somebody else, make sure you go with patch panels. After all, the last thing you want is Bondo chunks or rust resurfacing.
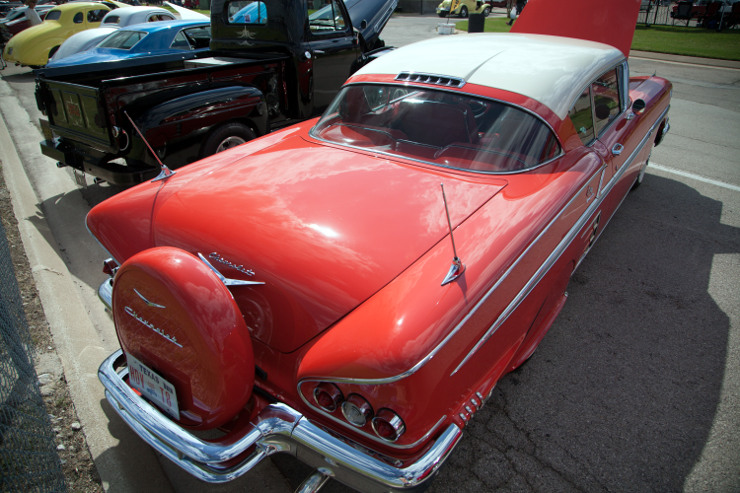
Again, all these photos are for inspiration only...we don't know if any of the cars have had rust repaired (only, odds are, one of them has).